How to Capture Stunning Aerial Photos with a DSLR Camera
Capturing stunning aerial photos with a DSLR camera can be a challenging task, but with the right techniques and equipment, it can be a rewarding experience. Aerial photography allows photographers to capture unique and breathtaking perspectives that cannot be seen from the ground. In this article, we will provide tips and tricks for capturing stunning aerial photos with a DSLR camera.
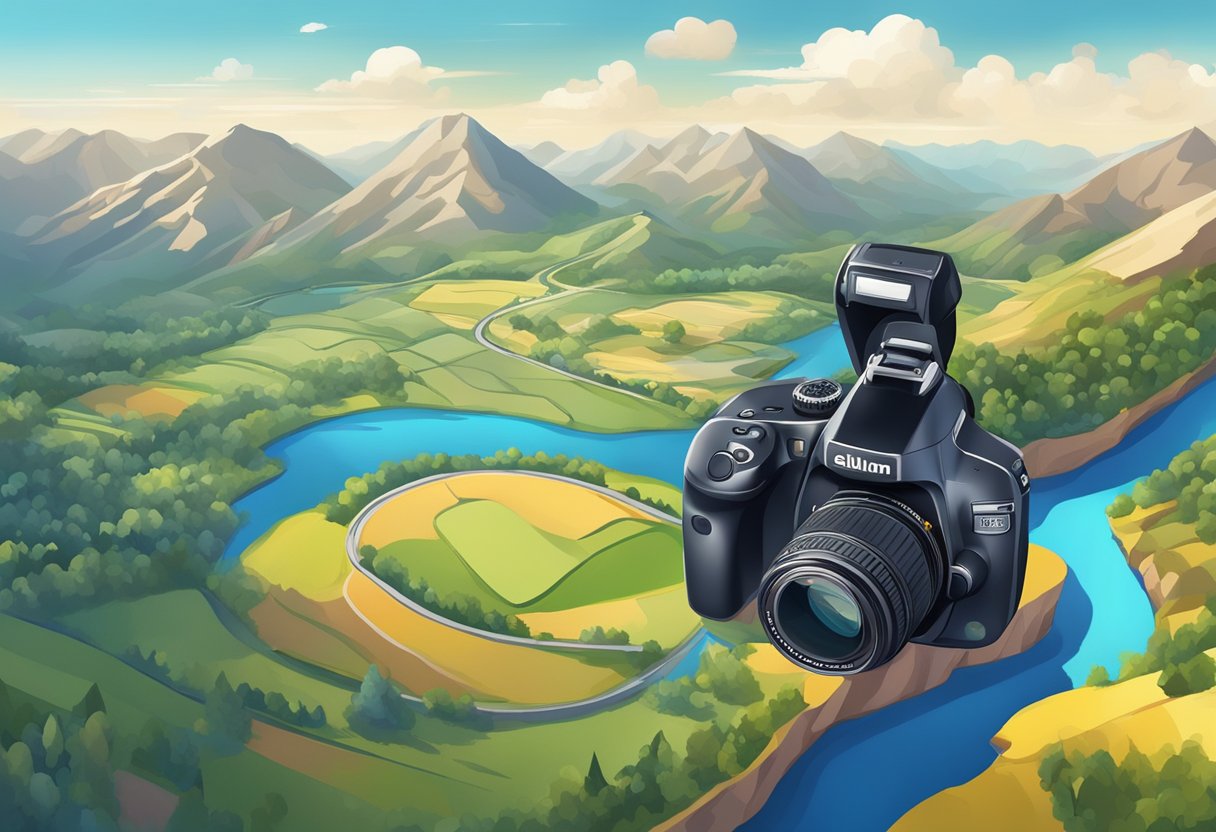
One of the most important aspects of aerial photography is having the right equipment. A DSLR camera with a wide-angle lens is essential for capturing the vast landscapes and scenery from above. Additionally, a stable platform such as a drone or helicopter is necessary to ensure sharp and clear images. It is also important to have extra batteries and memory cards on hand, as aerial photography can quickly drain both.
To capture stunning aerial photos, it is important to plan ahead and scout out locations that offer interesting and unique perspectives. Timing is also crucial, as the best lighting conditions are often during the early morning or late evening hours. By following these tips and techniques, photographers can capture breathtaking aerial photos that will leave a lasting impression.
Understanding Aerial Photography

Types of Aerial Photography
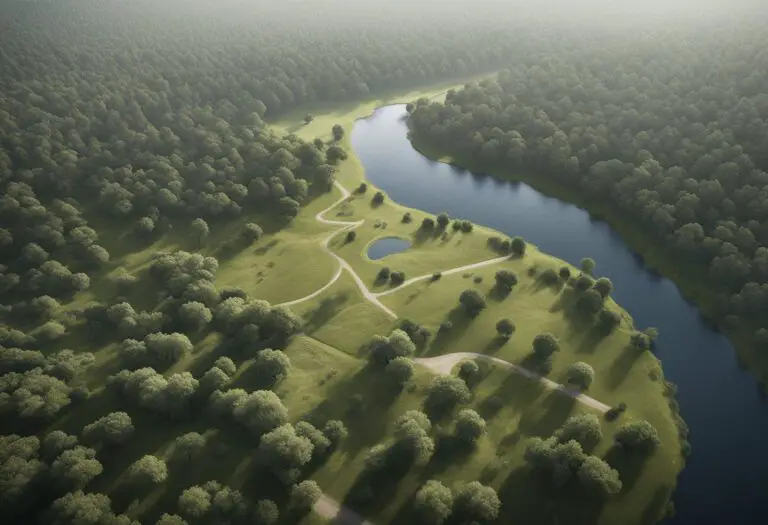
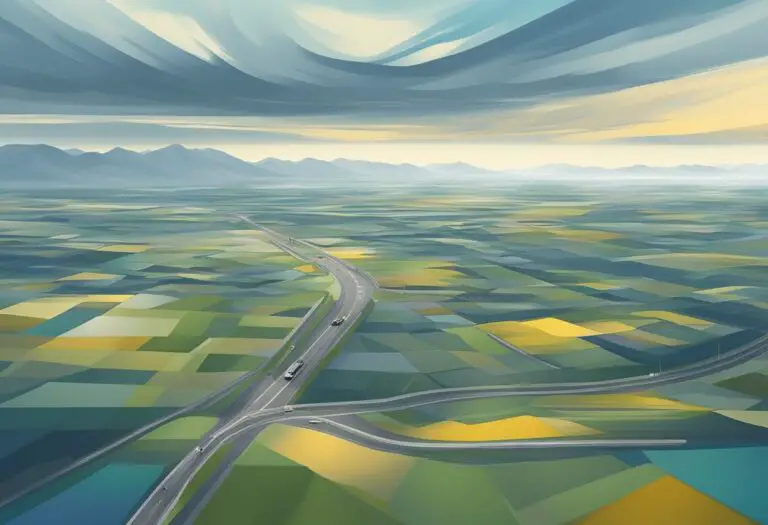
Aerial photography involves capturing images of the earth’s surface from an elevated position. There are two main types of aerial photography: oblique and vertical. Oblique aerial photography is taken at an angle, while vertical aerial photography is taken straight down from above.
Oblique aerial photography is commonly used for landscape and architectural photography. This type of photography provides a unique perspective that cannot be achieved from ground-level photography. Vertical aerial photography, on the other hand, is used for mapping, surveying, and scientific research.
Benefits of Using a DSLR Camera
DSLR cameras are a popular choice for aerial photography because they offer high-quality images and a variety of lens options. With a DSLR camera, photographers can capture high-resolution images that are sharp and detailed. The interchangeable lens system allows photographers to choose the best lens for the job, whether it’s a wide-angle lens for landscape photography or a telephoto lens for capturing distant objects.
DSLR cameras also offer manual control over settings such as aperture, shutter speed, and ISO, which allows photographers to have more creative control over their images. This is especially important in aerial photography, where lighting conditions can change quickly and dramatically.
Overall, understanding the types of aerial photography and the benefits of using a DSLR camera can help photographers capture stunning images from above.
Essential Equipment for Aerial Photography

Choosing the Right DSLR Camera
When it comes to aerial photography, choosing the right DSLR camera is crucial. Look for a camera with a high resolution sensor, good image stabilization, and a fast autofocus system. A camera with a high frame rate is also important, as it will allow you to capture fast-moving objects without any blur. Some popular options for aerial photography include the Canon EOS 5D Mark IV, the Nikon D850, and the Sony A7R III.
Selecting Lenses for Different Perspectives
Different lenses can give you different perspectives when it comes to aerial photography. A wide-angle lens is great for capturing expansive views, while a telephoto lens can help you zoom in on specific details. Look for lenses with image stabilization, as it will help reduce any camera shake that might occur during the flight. Some popular lenses for aerial photography include the Canon EF 16-35mm f/2.8L III USM, the Nikon AF-S NIKKOR 70-200mm f/2.8E FL ED VR, and the Sony FE 24-70mm f/2.8 GM.
Using Tripods and Stabilizers
To ensure that your aerial photos are sharp and clear, it’s important to use tripods and stabilizers. A tripod will help keep your camera steady while in flight, while a stabilizer can help reduce any camera shake that might occur during the flight. Look for lightweight and compact options that won’t add too much weight to your setup. Some popular options include the DJI Ronin-S, the Zhiyun Crane 2, and the Glidecam HD-4000.
By selecting the right DSLR camera, lenses, and stabilizers, you can capture stunning aerial photos that are sure to impress.
Camera Settings and Techniques
Optimal Camera Settings for Aerial Shots
When it comes to capturing stunning aerial photos with a DSLR camera, it’s important to use the right camera settings. To start, set your camera to manual mode so you have full control over the exposure. This will allow you to adjust the aperture, shutter speed, and ISO to achieve the desired effect.
For aerial shots, it’s best to use a fast shutter speed to avoid any motion blur caused by the movement of the aircraft. A shutter speed of 1/1000th of a second or faster is recommended. Additionally, using a low ISO setting will help reduce noise in your images.
Mastering Focus and Depth of Field
Achieving the right focus and depth of field is crucial in aerial photography. One technique to achieve a sharp focus is to use manual focus and focus on a distant object. This will ensure that everything in the frame is in focus.
To create a shallow depth of field, use a wide aperture such as f/2.8 or f/4. This will blur the background and make your subject stand out. However, keep in mind that using a wide aperture can also result in a shallow depth of field, which may not be desirable in some situations.
Exposure Tips for Varied Lighting Conditions
Aerial photography can present a range of lighting conditions, from bright sunlight to low light. To get the best exposure in these conditions, it’s important to use the right exposure settings.
In bright sunlight, use a fast shutter speed and a low ISO to avoid overexposure. If the light is too harsh, consider using a polarizing filter to reduce glare and improve color saturation.
In low light, use a slower shutter speed and a higher ISO to capture more light. However, keep in mind that using a high ISO can result in noise in your images. To minimize noise, use a tripod to stabilize your camera and avoid camera shake.
Composition and Framing
Capturing stunning aerial photos with a DSLR camera requires more than just pointing and shooting. Composition and framing play a crucial role in creating visually appealing images. Here are some tips to help you master the art of composition and framing in aerial photography.
The Rule of Thirds in Aerial Photography
The rule of thirds is a fundamental principle of composition that applies to all types of photography, including aerial photography. The basic idea is to divide the frame into thirds both horizontally and vertically, creating a grid of nine equal parts. The points where the lines intersect are known as the “power points.” Placing the main subject of the photo on one of these power points can create a more visually appealing image.
In aerial photography, the rule of thirds can be particularly useful in creating a sense of depth and scale. For example, placing a mountain or a building on one of the power points can help emphasize its size and grandeur.
Incorporating Leading Lines and Patterns
Leading lines and patterns can also be used to create visually interesting compositions in aerial photography. Leading lines are lines that draw the viewer’s eye into the photo, such as a road, river, or coastline. Patterns, on the other hand, are repetitive elements that can add texture and depth to an image.
When using leading lines or patterns in aerial photography, it’s important to consider the direction and angle of the lines. For example, a road that leads directly out of the frame can create a sense of movement and direction, while a road that curves within the frame can add a sense of depth and dimension.
Balancing Elements in the Frame
Balancing the elements in the frame is another important aspect of composition in aerial photography. This means considering the placement and size of all the elements in the frame, not just the main subject.
For example, if you’re photographing a landscape, you may want to balance the sky, foreground, and middle ground to create a sense of harmony and balance. Similarly, if you’re photographing a building or a monument, you may want to consider the surrounding landscape or other elements in the frame to create a more visually interesting image.
By following these tips, you can create stunning aerial photos that are not only visually appealing but also tell a story and evoke a sense of wonder and awe.
Post-Processing and Editing
Basic Editing Workflow
Once the aerial photos have been captured, it’s time to edit and enhance them. The basic editing workflow involves adjusting the exposure, contrast, saturation, and sharpness of the image. This can be done using software such as Adobe Photoshop or Lightroom.
The first step is to import the photos into the editing software and make any necessary adjustments to the exposure. This can be done by adjusting the brightness and contrast levels to ensure that the image is properly exposed. The next step is to adjust the saturation levels to bring out the colors in the image. Finally, the sharpness of the image can be adjusted to make it appear more defined and crisp.
Advanced Techniques for Aerial Photos
In addition to the basic editing workflow, there are several advanced techniques that can be used to enhance aerial photos. One such technique is to use the “HDR” or High Dynamic Range technique. This involves taking multiple photos of the same scene at different exposures and then combining them into a single image. The result is an image that has a wider range of colors and tones, making it appear more vibrant and dynamic.
Another advanced technique is to use “panorama stitching” to create a panoramic image from multiple photos. This involves taking several photos of a scene from different angles and then stitching them together to create a single, wide-angle image. This technique is particularly useful for capturing large landscapes and cityscapes.
Overall, post-processing and editing are essential steps in capturing stunning aerial photos with a DSLR camera. By using basic editing techniques and advanced techniques such as HDR and panorama stitching, photographers can enhance their images and create truly breathtaking photos.