Post-Processing Techniques for Underwater Photos
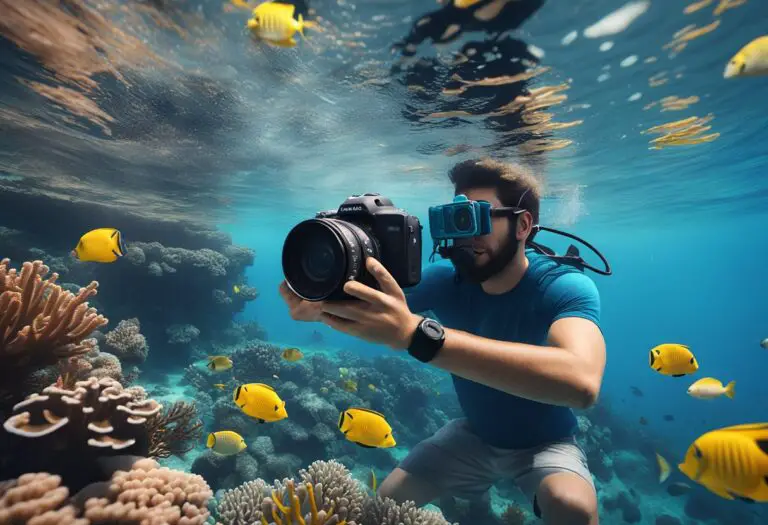
Underwater photography is a fascinating and challenging field that requires a unique set of skills and equipment. Capturing the beauty and diversity of the underwater world can be a rewarding experience, but it can also be a frustrating one if your photos don’t turn out the way you want them to. That’s where post-processing techniques come in.
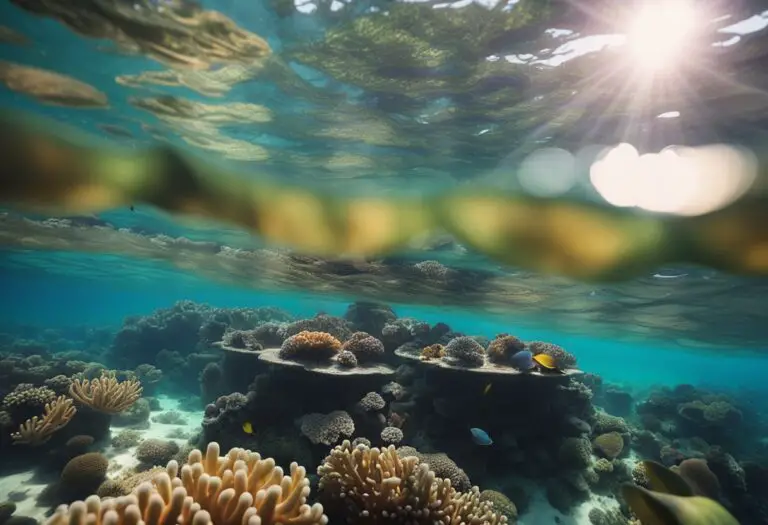
Post-processing is the process of editing and enhancing digital photos after they have been taken. It can involve adjusting the color balance, brightness and contrast, sharpness, and other aspects of the image to improve its overall quality. In the case of underwater photography, post-processing can be especially important because the conditions underwater can often result in images that are too blue, too green, or too murky.
There are a variety of post-processing techniques that can be used to improve underwater photos, from simple adjustments to more advanced editing tools. Some of the most common techniques include adjusting the white balance, using filters to correct color, and removing backscatter (the small particles that can appear in underwater photos). By mastering these techniques, underwater photographers can take their images to the next level and capture the beauty of the underwater world in all its glory.
Understanding Color Correction

Color correction is an essential post-processing technique for underwater photographers. It involves adjusting the colors in an image to make them appear more natural and appealing to the eye. There are two primary types of color correction: white balance adjustment and tonal adjustments.
White Balance Adjustment
White balance adjustment is the process of correcting the color temperature of an image. Water can affect the color temperature of light, making underwater photos appear blue or green. White balance adjustment can help to correct this issue and restore the natural colors of the scene.
There are several ways to adjust the white balance of an image. One option is to use a white balance tool or chart to set the correct color temperature. Another option is to adjust the temperature and tint sliders in post-processing software until the colors appear natural.
Tonal Adjustments
Tonal adjustments involve adjusting the brightness, contrast, and saturation of an image. Underwater photos often require tonal adjustments to bring out the details and colors of the scene.
Brightness adjustments can help to correct underexposure or overexposure issues. Contrast adjustments can help to bring out the details in the shadows and highlights of the image. Saturation adjustments can help to enhance the colors in the scene.
It’s important to make tonal adjustments carefully, as over-processing can result in unrealistic and unnatural-looking images. It’s best to make small adjustments and preview the changes before applying them to the entire image.
Overall, understanding color correction is crucial for achieving high-quality underwater photos. By making careful adjustments to the white balance and tonal values, photographers can create stunning images that accurately reflect the beauty of the underwater world.
Enhancing Visibility

Underwater photography can be challenging due to the limited light and reduced visibility. Enhancing visibility is an important post-processing technique to improve the quality of underwater photos.
Contrast Enhancement
Contrast enhancement is a technique used to increase the difference between the light and dark areas of an image. This technique can help to bring out details in underwater photos that may be difficult to see due to the low light conditions.
One way to enhance contrast is to adjust the brightness and contrast levels in post-processing software. Another effective technique is to use the “Curves” tool to adjust the tonal range of the image. This tool allows the user to increase the contrast in specific areas of the photo, bringing out details and improving overall visibility.
Noise Reduction
Underwater photos can often be plagued by noise, which can result in a grainy or blurry image. Noise reduction is a post-processing technique used to reduce the amount of visual noise in an image.
There are several ways to reduce noise in underwater photos. One effective method is to use software that is specifically designed for noise reduction, such as Topaz DeNoise or Nik Dfine. These programs use advanced algorithms to analyze the image and reduce noise while preserving detail.
Another effective technique is to use the “Noise Reduction” tool in post-processing software. This tool allows the user to adjust the amount of noise reduction applied to the image, as well as the level of detail preservation.
By using these techniques, photographers can enhance the visibility of their underwater photos and produce high-quality images that showcase the beauty of the underwater world.
Removing Unwanted Elements
When it comes to underwater photography, removing unwanted elements from the image can be a challenging task. However, with the help of post-processing techniques, it is possible to eliminate unwanted elements and enhance the overall quality of the image.
Backscatter Removal
One of the most common unwanted elements in underwater photography is backscatter, which refers to the tiny particles that can cause a hazy appearance in the image. To remove backscatter, the photographer can use the Clone Stamp or Healing Brush tool in Adobe Photoshop to clone over the affected areas. However, this technique can be time-consuming and may not always produce the desired results.
Another effective way to remove backscatter is to use the Dehaze tool in Lightroom. This tool helps to reduce the haze in the image and bring out the details in the subject. Additionally, using a polarizing filter while shooting can help to reduce backscatter and produce clearer images.
In conclusion, removing unwanted elements from underwater photos can be a challenging task, but with the right post-processing techniques, it is possible to achieve stunning results. By using tools like the Clone Stamp or Healing Brush in Photoshop, or the Dehaze tool in Lightroom, photographers can enhance the quality of their images and produce stunning underwater photographs.
Applying Creative Effects
Black and White Conversion
One of the most popular creative effects for underwater photos is black and white conversion. This technique can add a sense of drama, moodiness, and timelessness to an image. It can also help to remove color casts caused by the water and bring out the textures and details of the subject.
To achieve a good black and white conversion, it is important to start with a well-exposed and sharp image. Then, using software such as Adobe Lightroom or Photoshop, the photographer can adjust the black and white mix, contrast, and brightness to create the desired effect. It is also possible to add a tint to the image to create a sepia or blue tone.
Color Grading
Another way to apply creative effects to underwater photos is through color grading. This technique involves adjusting the colors in an image to create a specific mood or atmosphere. For example, a warm orange or red tone can create a feeling of warmth and intimacy, while a cool blue or green tone can create a sense of calmness and serenity.
To achieve a good color grading effect, it is important to start with a well-balanced color image. Then, using software such as Adobe Lightroom or Photoshop, the photographer can adjust the hue, saturation, and luminance of the colors to create the desired effect. It is also possible to use color grading presets or filters to achieve a certain look.
Overall, applying creative effects can greatly enhance the visual impact of underwater photos. However, it is important to use these techniques in moderation and with a clear artistic vision in mind.
Workflow and Best Practices
Non-Destructive Editing
When editing underwater photos, it is important to use non-destructive editing techniques. This allows you to make changes to the image without permanently altering the original file. Non-destructive editing allows you to experiment with different editing techniques without the risk of losing important data.
There are several ways to perform non-destructive editing. One common method is to use adjustment layers in Photoshop or Lightroom. This allows you to make changes to the image without altering the underlying pixels. Another method is to use virtual copies in Lightroom or duplicate layers in Photoshop. This creates a new version of the image that can be edited without affecting the original.
File Formats and Storage
When working with underwater photos, it is important to use the correct file format and storage method. RAW files are the preferred format for underwater photography because they contain more information than JPEG files. RAW files allow for more flexibility when editing the image, as they contain more data and allow for more adjustments to be made.
When it comes to storage, it is important to keep multiple copies of your images in different locations. This ensures that your photos are safe in case of a hard drive failure or other disaster. Cloud storage services such as Dropbox or Google Drive can be used to store images online, while external hard drives can be used for local storage.
Overall, using non-destructive editing techniques and choosing the correct file format and storage method are crucial for achieving high-quality underwater photos. By following these best practices, photographers can ensure that their images are edited safely and stored securely.


